Thursday, April 25, 2013

Structural Testing & Second Layer

Final Review is on the horizon so our time is getting sucked in by our other projects at the moment, but here is a little update.

Last week we ceremoniously tested our little vault. We gathered a small crowd of a few students, our adviser Lindsay Falck, Fernando Vegas and Camilla Mileto, as well as visiting lecturer at PennDesign that day, Arturo Zaragoza.


A few days later, we started to lay the second layer of tile. This time with cement mortar containing lime. The vault now acts as form work for a second vault built right over the top of the first one. In terms of technique, it is very different from the first layer. Here, the process is much more relaxed since the mortar doesn't set immediately and imperfections in the first vault can basically be corrected by building up a thicker bed of mortar under the tile. The most difficult part was once again, cutting and fitting tiles and making clean mortar joints without making too much of a mess on the surface of the tile.
first step is to "render" with mortar over the extrados (outer face)

multiple masons can work at once during this process.


Big thanks to Sam Rosen for helping out laying this second layer.

Wednesday, April 17, 2013

First layer of the vault complete

In anticipation of a meeting with Fernando and Camilla I set out to finish the vault. By now I've got about 14 hours of experience laying out tiles so progress is much faster and I've got a better handle on the technique, the plaster mix (especially the amount to mix in each batch) and cutting bricks in various shapes with the trowel. The technique is without a doubt a high craft that takes years and years to master. It takes a great deal of precision and concentration to build the vault with the correct geometry and surface curvature. It is whole different challenge to correctly built the vault with clean mortar joints and with a minimum of irregularly shaped tiles. 

I realized that the scale at which we are building here is a huge contributor to the difficulty we faced with this first vault. The surface curves are rapidly changing over a short distance so a tile placed slightly off has a major impact on the overall construction. The tiles we have at the moment are far too big to build a vault so small because it makes it difficult to correct minor mistakes. The level of precision need to modify and cut the tiles we have to build a structure that small is far to difficult to achieve. 

From now on we will build much larger structures : )

 the many uses of a trowel

patching up the intrados (underbelly)

enjoying the view


Aside from completing the first layer of this vault there have been some exciting developments in this project.
  • On April 10th I was awarded the Robert A.M. Stern Architects Travel Fellowship. It is a $10,000 grant to travel and do research that focuses on the "perpetuation of history through invention". Read the press release from PennDesign here.
  • On April 12th Kelly and Kordae were awarded the Van Alen Travel Fellowship. It is a $4500 travel grant that they will split to help cover the cost of travel to Kenya and purchase camera/documentation equipment.
  • On April 15th we launched a fundraising campaign on indiegogo. We are trying to raise $10,000 to cover the cost of equipment, tools, building materials and salaries for the EK Sustainable Design Guild that will be needed to complete the construction of the EK FM Radio Studio. Please help out in any way you can. Give a little if you can and tell EVERYBODY!
Here is our campaign page. Please pass it on.
http://igg.me/at/mfanganohealthradio/x/3005931

Monday, April 15, 2013

Vault Infill

We worked on filling in the vault today for a few hours and made some good progress. I started on my own but found it extremely difficult to manage each of the tasks involved. There are basically three tasks involved here: one mason to place the tile, one chemist to mix mortar almost constantly, and one person to work ahead of the mason to size tiles and cut them as needed. Alone, I worked at a snail's pace but once help arrived we were able to work efficiently and complete a good portion of the infill.

It became clear to us how important it is for the former arches (those on the outside edge) to be built accurately because any imperfection in the arch affects the surface of the vault. If the arch flattens out - and one of ours does - the surface does the same. We've been trying to "correct" this to some extent as we complete the infill.

I found that laying out the tiles for the infill is actually much easier than for the arches since tiles are placed with mortar on at least two sides. The two mortar joints mean there is more surface area bonded. As I worked on the infill it felt like I could let go of the tile much faster compared to when working on the arches where there was only one mortar joint. 

Also, big thanks to Josh Berliner (PennDesign, M.Arch '15) for helping out today and taking photos!


Thursday, April 11, 2013

First Lesson in Timbrel Vaulting

We had our first formal lesson in timbrel vaulting with Fernando Vegas and Camilla Mileto. It was decided that we would begin constructing a small groin vault. The setup was not only difficult but time consuming. We had to make sure everyone was on the same page, establish how the foundations were configured and determine the curvature of the arches. Since the set up took so much longer than expected we didn't come close to finishing the vault - but - we managed to build four arches much faster than we had to date. So, we take that as a win, and we'll address the surface of the vault next time we build.

 determining the configuration of the heavy stuff

what are we going to do?

drawing the catenary curve and 
bending our wire to the correct shape

tight working quarters

Working around all four corners

Erik modifying our tiles with smashing techniques

four arches!

Monday, April 8, 2013

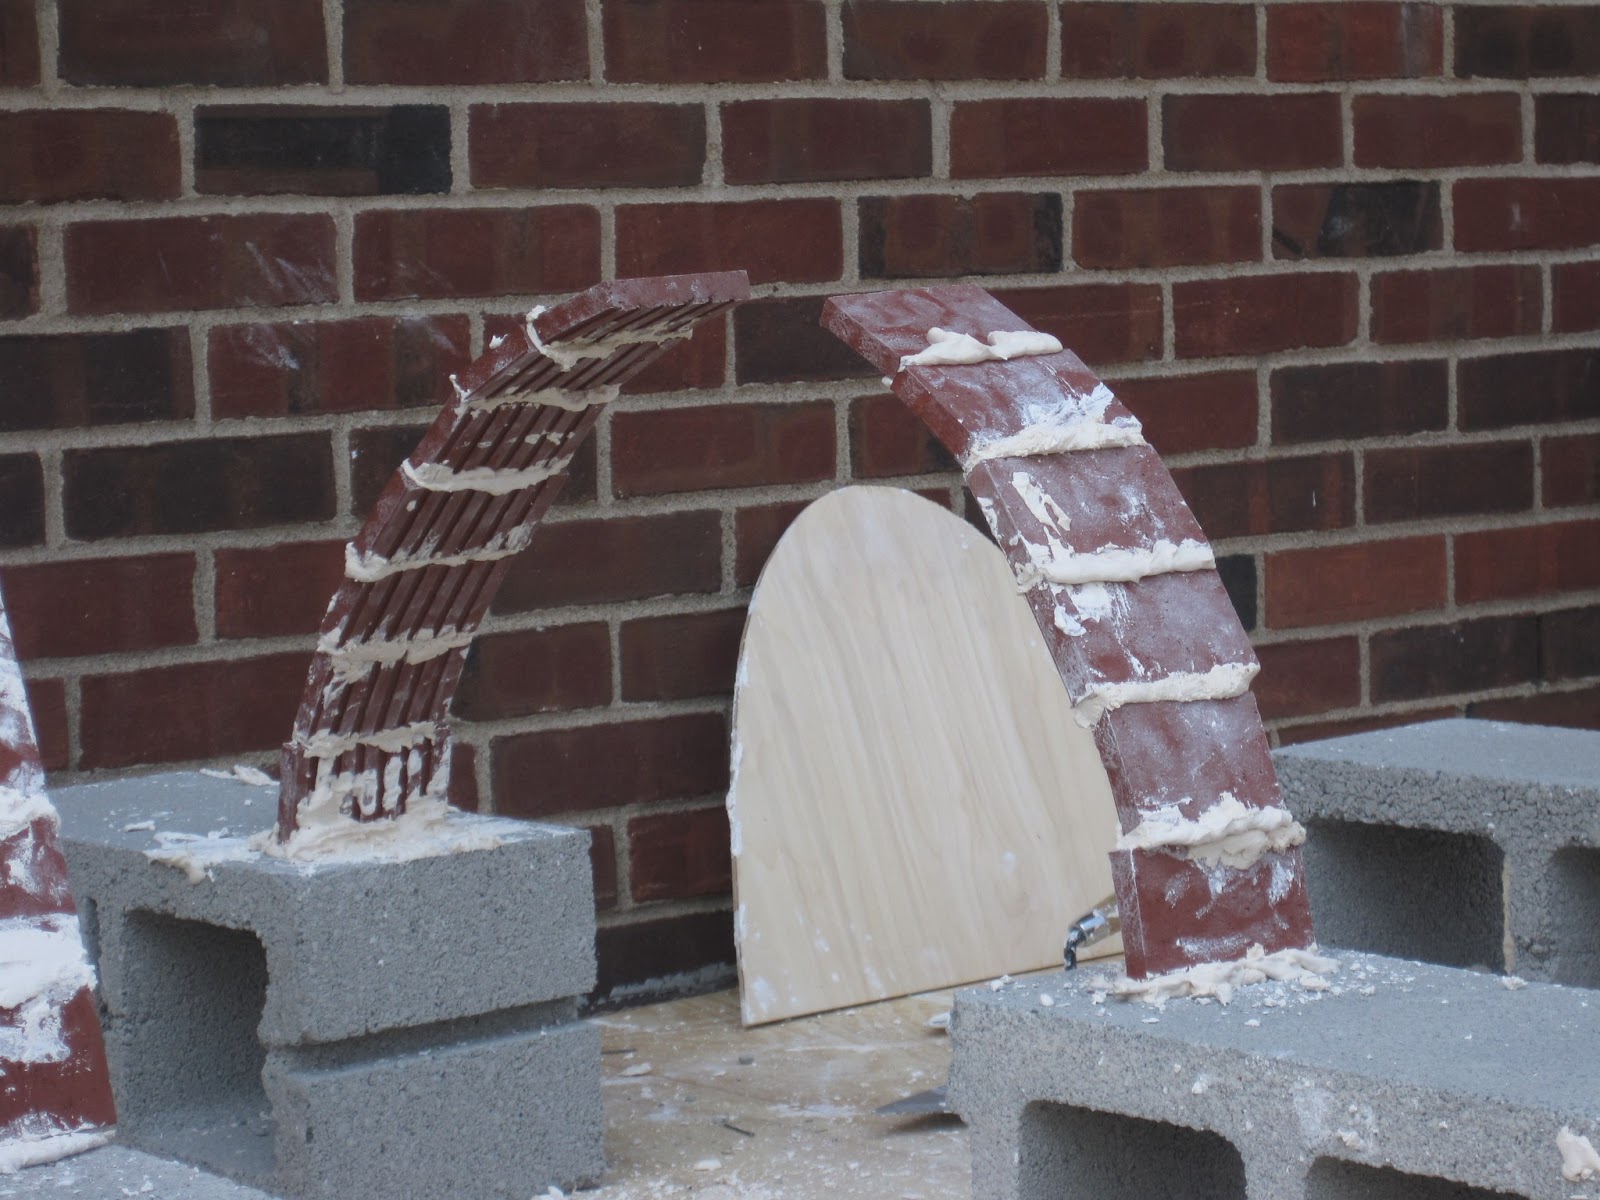
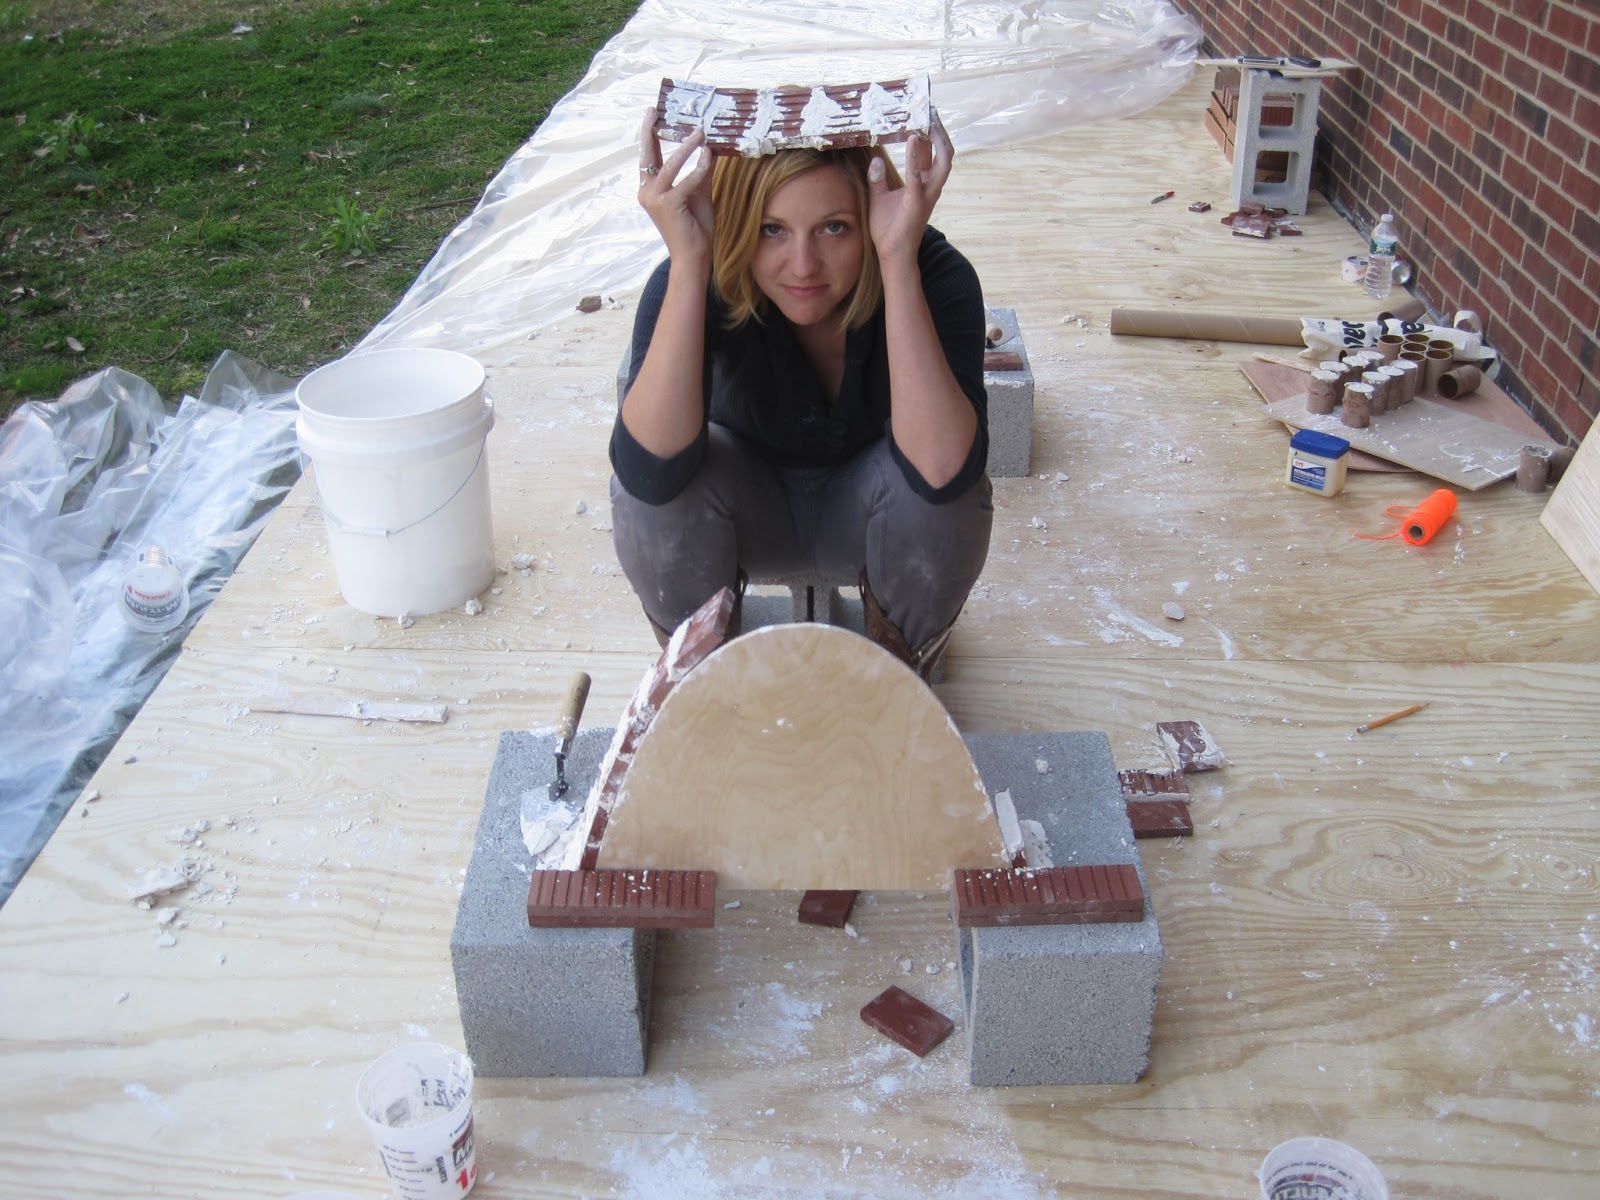
For the second build, I wanted refine my technique of laying out the tiles to make an arch. I used the form-work (plywood guide) again to help achieve the correct curvature. Full size tiles were used this time (instead of breaking them in half). I also did my best not to lay the tile on the form-work. This way I could ensure that the tiles and mortar were working in cantilever.

solo-building work setup: everything within arm's reach.

the gap. making sure the tiles are in cantilever.

remove the form-work for the last tile. 

I made a second arch - his time I built it without any form-work. This meant I had to do my best to lay the tiles in the correct curvature and make the two cantilevering sides meet. I also wanted this arch to be wider and flatter compared to the first arch. The bricks where split in half for material economy.


In the end, the second arch worked but one side flattened out too quickly which resulted in a lop-sided arch. It was still pretty amazing to see seven tiles in such a flat cantilever. Later in the day I was poking at the second arch it collapsed. Tomorrow is our first formal lesson with Camilla and Fernando. We are planning on building a complete vault!

Friday, April 5, 2013

Our First Arches

It was a beautiful day in Philly today, so Kelly and I decided to play with some plaster and try making arches using gypsum mortar and split bricks. We had two goals today: (1) Test out two types of plaster to determine the correct ratio of powder to water for each and pour test cylinders (2) build two simple arches using each type of plaster.

Plaster "A" and "B"

architectural test tubes

Plaster Chemistry: precision mixing

test cylinders: marked with powder/water ratios

Yes Kelly, science experiments can be messy.

 Our 8 plaster sample tubes.

After our tests, we determined that plaster "A" needed a 3:1 powder:water ratio in order to be effective as a true gypsum mortar. Plaster "B" needed a 3.5:1 ratio because it was a much finer powder. Next, we moved onto making our first tile arches.

True Catenary Curve using a hanging chain.

Cutting out our formwork.

Little by little, building the arch from both sides.

Removing the formwork...

The first arch worked!!!

The second arch ALMOST worked...

Even after we destroyed the arches, a few tiles remained in cantilever. 
Look at that gypsum mortar work!

Thursday, April 4, 2013

Planning Meeting

The research team met with our advisers Fernando Vegas and Camilla Mileto. 
We scoped out our work site, tested plaster and started scheduling construction sessions. 
Our first construction day is Tuesday April 9th. Stay tuned!